Post by tag on Jan 30, 2006 0:04:54 GMT -5
TAG’s laser sight mod for UMS Rail (RIS Mk.2)
I have a Daisy laser sight that I bought at Academy Sporting Goods for about $25. I like its compact size and decent range, so I naturally wanted to put it on my A5. The problem was WHERE. The Weaver adapter that came with it was very cheap and broke, so I mounted it to the smaller 3/8 (.22 & air rifle) adapter that came in the package.
I usually mounted it on top of the marker but noticed that it was quite obvious. I also noted that part of the beam touched the side of the hopper neck as it went downrange. Again, obvious and therefore needing to be dealt with.
The UMS RIS Mk.2 is a superb piece of equipment that has helped many A5’s improve their handling and balance. However, it has a small quirk. The rail on the right side (under the Cyclone) is cramped by the Cyclone itself. Any usual Weaver mounts will generally NOT work because of the size of the mount lugs.
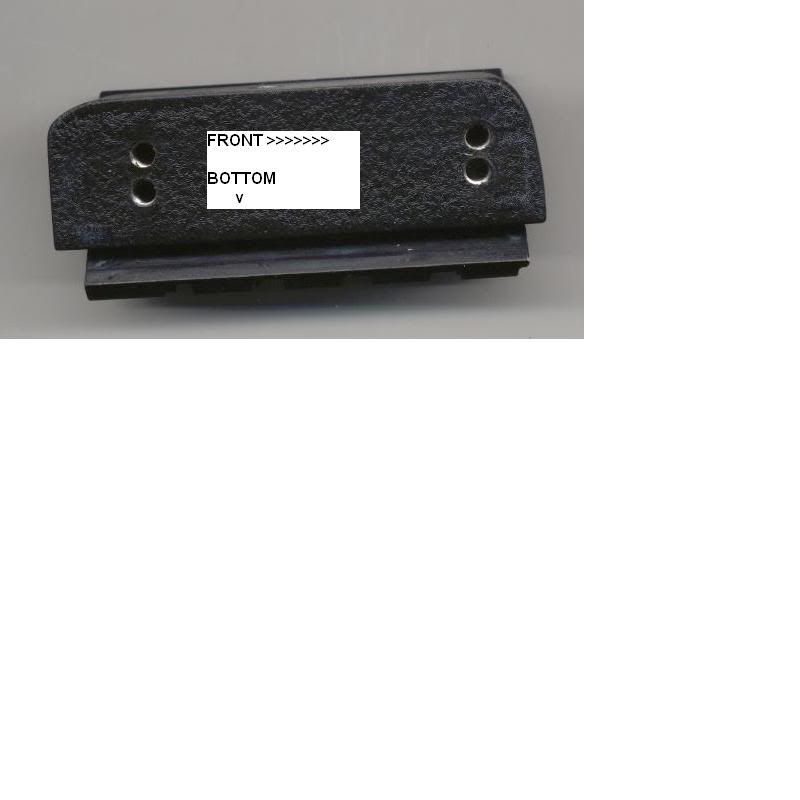
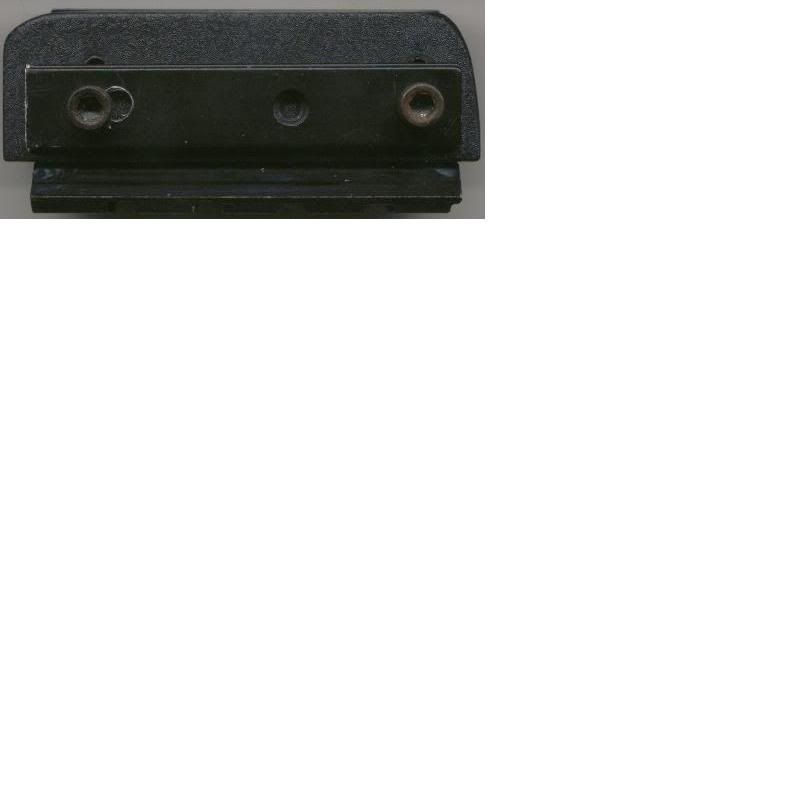
What I did was go out to a local gun shop and get a scope rail for a Ruger 10-22. (see pic. 1). Then I took the right Cyclone side rail off the RIS Mk.2 (pic. 2) and cut the Ruger scope rail to the correct length. I used the old RIS rail as a guide and got the holes lined up for the new, smaller rail. You will need to use the LOWER set of holes if you want to do this. You can also re-use the RIS rail screws for the new rail.
Pic 1 - Ruger 10-22 Scope Rail:

Pic 2 - Old Rail Removed/RIS Prepped For New Rail:

Once drilled and set, I installed the new rail onto the RIS block (pic. 3). BTW – The FRONT screw is just a screw in its hole – the REAR screw is the one with the oval-shaped space.
Pic 3: New Rail (10-22 Scope Rail) In Place:

Once the new rail is in position, put the RIS Mk.2 back on the A5 and mount the laser. Be sure to put the laser into its bracket so that the zeroing set-screws are showing (usually at 6 and 9 o’clock positions if you are looking at the front of the laser itself, but remember – NEVER LOOK DIRECTLY AT A LASER BEAM.)
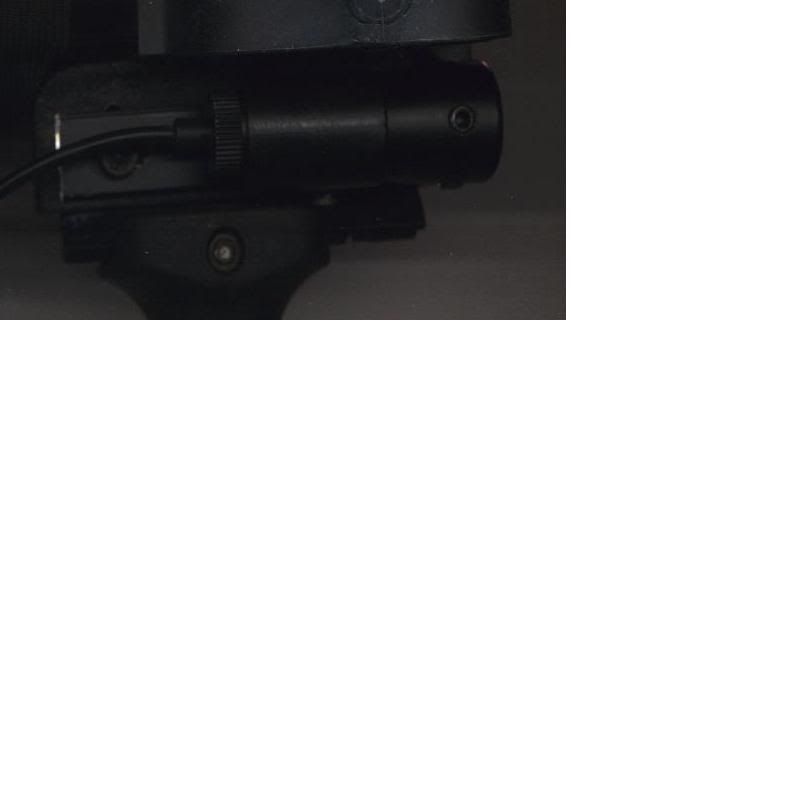
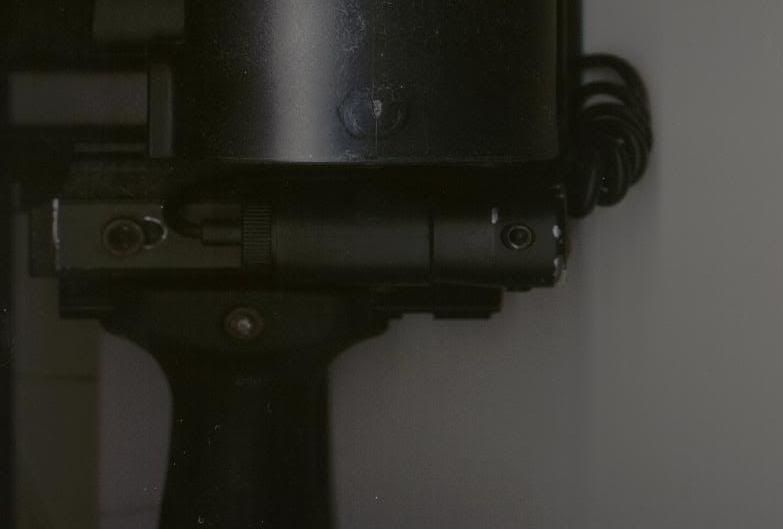
Now the laser is securely mounted and ready for anything. It is also protected by the bulk of the Cyclone itself. (pic. 4) I re-zeroed mine to 100 feet so that the laser beam will show up at the top of the front sight blade. That way, even on a ‘snapshot’, if the laser is in the circle somewhere, my first-shot hit probability is dramatically increased. Also, the laser istelf is concealed and protected, and cannot inadvertently advertise my location by showing itself against another part of my A5.
Pic 4: Laser Mounted/Installed:

PIC 5: Better View of Completed Mod:

TOTAL PARTS LIST NEEDED FOR MOD:
Daisy Laser Sight ($25 approx)
Ruger 10-22 Scope Base ($5 or 6 approx)
TIME NEEDED FOR MOD:
30 min-1 hr.
Enjoy !!
--TAG--
PS - Sorry about the big white parts of the pics - no matter what I tried, I couldn't edit them out....
I have a Daisy laser sight that I bought at Academy Sporting Goods for about $25. I like its compact size and decent range, so I naturally wanted to put it on my A5. The problem was WHERE. The Weaver adapter that came with it was very cheap and broke, so I mounted it to the smaller 3/8 (.22 & air rifle) adapter that came in the package.
I usually mounted it on top of the marker but noticed that it was quite obvious. I also noted that part of the beam touched the side of the hopper neck as it went downrange. Again, obvious and therefore needing to be dealt with.
The UMS RIS Mk.2 is a superb piece of equipment that has helped many A5’s improve their handling and balance. However, it has a small quirk. The rail on the right side (under the Cyclone) is cramped by the Cyclone itself. Any usual Weaver mounts will generally NOT work because of the size of the mount lugs.
What I did was go out to a local gun shop and get a scope rail for a Ruger 10-22. (see pic. 1). Then I took the right Cyclone side rail off the RIS Mk.2 (pic. 2) and cut the Ruger scope rail to the correct length. I used the old RIS rail as a guide and got the holes lined up for the new, smaller rail. You will need to use the LOWER set of holes if you want to do this. You can also re-use the RIS rail screws for the new rail.
Pic 1 - Ruger 10-22 Scope Rail:

Pic 2 - Old Rail Removed/RIS Prepped For New Rail:

Once drilled and set, I installed the new rail onto the RIS block (pic. 3). BTW – The FRONT screw is just a screw in its hole – the REAR screw is the one with the oval-shaped space.
Pic 3: New Rail (10-22 Scope Rail) In Place:

Once the new rail is in position, put the RIS Mk.2 back on the A5 and mount the laser. Be sure to put the laser into its bracket so that the zeroing set-screws are showing (usually at 6 and 9 o’clock positions if you are looking at the front of the laser itself, but remember – NEVER LOOK DIRECTLY AT A LASER BEAM.)
Now the laser is securely mounted and ready for anything. It is also protected by the bulk of the Cyclone itself. (pic. 4) I re-zeroed mine to 100 feet so that the laser beam will show up at the top of the front sight blade. That way, even on a ‘snapshot’, if the laser is in the circle somewhere, my first-shot hit probability is dramatically increased. Also, the laser istelf is concealed and protected, and cannot inadvertently advertise my location by showing itself against another part of my A5.
Pic 4: Laser Mounted/Installed:

PIC 5: Better View of Completed Mod:

TOTAL PARTS LIST NEEDED FOR MOD:
Daisy Laser Sight ($25 approx)
Ruger 10-22 Scope Base ($5 or 6 approx)
TIME NEEDED FOR MOD:
30 min-1 hr.
Enjoy !!
--TAG--
PS - Sorry about the big white parts of the pics - no matter what I tried, I couldn't edit them out....


